Ok this is completely different from anything I've done before. But here is the thing. I absolutely love leather ! The smell, the texture, the colors, the temper. And leather backpacks are expensive and I could never find one that I liked. For years I've used a boring black webbing Eastpack student backpack. However, it is very thin, without any padding for laptops. Sure I could buy, or make, a sleave for my laptop or even add some padding, but that's boring. And that's how this project started !
I designed this backpack from scratch, knowing nothing about bag design or even leather working... Therefore I've made many mistakes, but hey, that's a learning experience anyway, and the result is still satisfying.
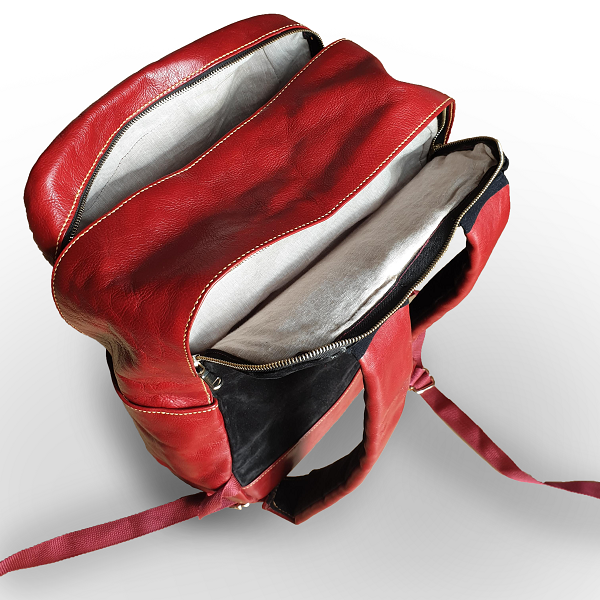
The backpack features a thin laptop and A4 paper sleeve on the back, a large general purpose pocket for cables, clothe, whatever, and a small front pocket for tissue, keys, and so on. The bag is also huge ! I wanted to be sure to be able to fit any laptop in it. Let's just say it won't be an issue, ever. These pockets are more than 40cm tall and 30cm wide !
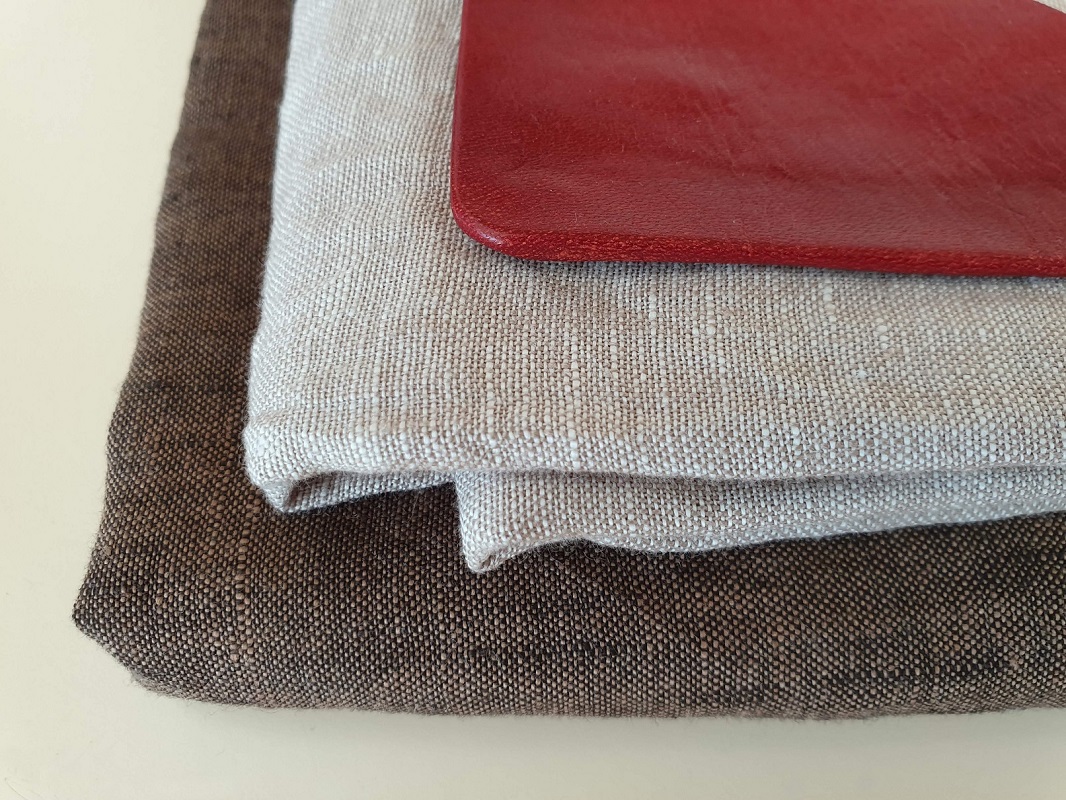
Leather and linen lining
The leather I used is vegetable tanned calf leather from BuyLeatherOnline. It's a beautiful Italian leather with soft temper and aniline surface finish. I used half of a half calf, so about 1m² of leather. The back of the bag is made of black suede leather also bought at BuyLeatherOnline. The interior of the straps is made with black webbing and the adjustment straps with red 20mm webbing. The lining of the pockets are made with linen fabric from Ma Petite Mercerie. The hardware, the zippers, the straps buckles and the metal bag feet, are bought cheap-ish from Aliexpress. The hand sewing waxed thread is bought of Amazon and the machine thread is from The Thread Exchange. The total material cost of the project is about... 150€ I think. But that's fine. I also had to buy tools, including the sewing machine : a Singer 4423 Heavy Duty, so the total cost is much higher.
I started with the pockets by cutting the linen to size, fixing the zippers using double-sided tape and machine stitching. Then I marked the stitch lines all around with a marker and pined them together with small pins and removing them as I machine stitched it together. I stitched it a second time with a zigzag pattern for extra, perhaps unnecessary, strength.
The straps are structured around thick packaging plastic foam. I started by cutting the foam to size and to a glue two sheets together for a thickness of about 1cm, which ended up being a bit too much after adding the leather. The exterior is made out of leather on one side and webbing on the other. In order to have the stitches hidden, I made a reverse seam by sewing the leather and webbing inside-out. I then had to turn the sleeve outside-in. As the leather is quite thick, this was very difficult ! But pushing and pulling it like a 2mm thick leather sock worked and only took about 20 minutes per strap. I then fitted the foam inside, once again struggling to push it tight in the sleeve. Finally, I stitched one end by had and added the buckle with webbing in between the leather thicknesses.
After cutting the suede leather to size, as the red leather is a rather supple leather, I couldn't burnish the edge to protect them. I had to fold the edges. But since the leather is thick, 1.2mm, I had to skive before folding. I don't have a skiving machine (YET !), so I had to skive it by hand... Some use a special skiving knife and I bought one online, perhaps too cheap because it didn't work at all. I think that this leather is simply too supple for this technique. The solution I found was to use an exacto knife... Yes, a teeny-tiny 1cm long blade to skive about 2.5m total for the whole project... Moreover, it had to be razor sharp. So, I had the 3000 grit wetstone on one side, the leather on the other, and went back and forth for hours. This was painful, in more ways than one because to get the required pressure and keep the leather from folding, I used my thumb, and of course the razor-sharp blade would regularly slip and end up in my thumb. If I had to do this again, and I will, I would absolutely have to get a skiving machine. Then, after humidifying the skived edge, I folded it straight and pressed it together with a metal leather-working roller and with a huge rubber malled in which I channeled all my anger. Unfortunately, the suede colored the waxed thread slightly darker. Perhaps the dye they use bled. This isn't really striking from afar, but since I noticed it, I can't unsee it.
After cutting, skiving, folding, stitching the other leather pieces, now was the time for the assembly.
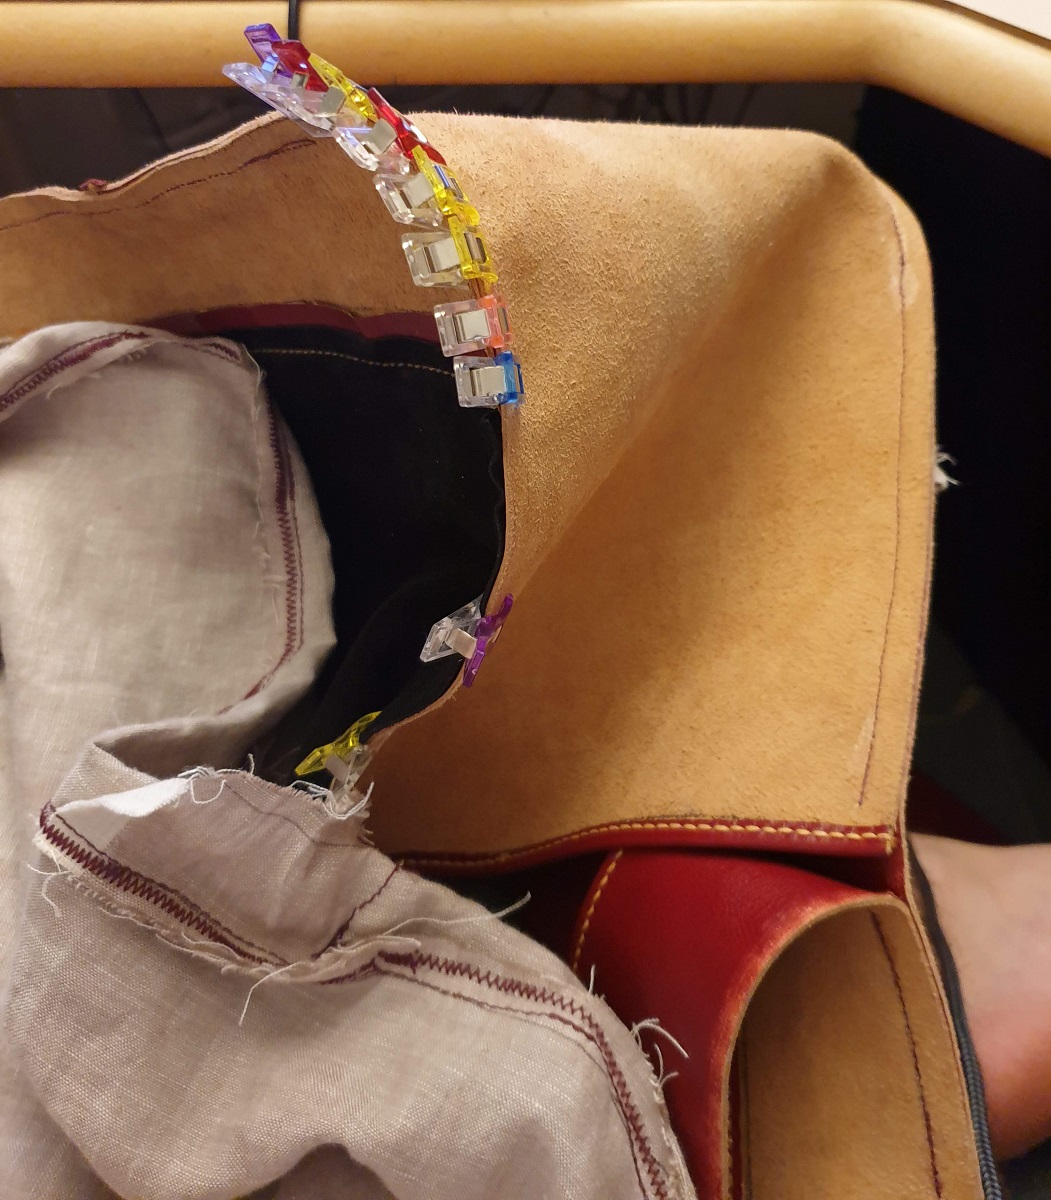
Clips before machine stitching
I assembled the leather pieces with clips inside-out and machine stitched them together. However, even though my Singer machine is labeled Heavy Duty, 3mm of leather with a thick needle is not at all the sort of thing this machine was made for. The motor is just not powerful enough. I thus simply used the hand wheel, one stitch at a time. Less painful and time consuming than hand-stitching, but still a long process. I included the straps before stitching the back panel of course. I then added the pockets, hand stitching them to the leather. I used thin black elastic band to hide the ugly part between the leather and the zipper. After stitching the side panels from the outside, the bag was finally finished !

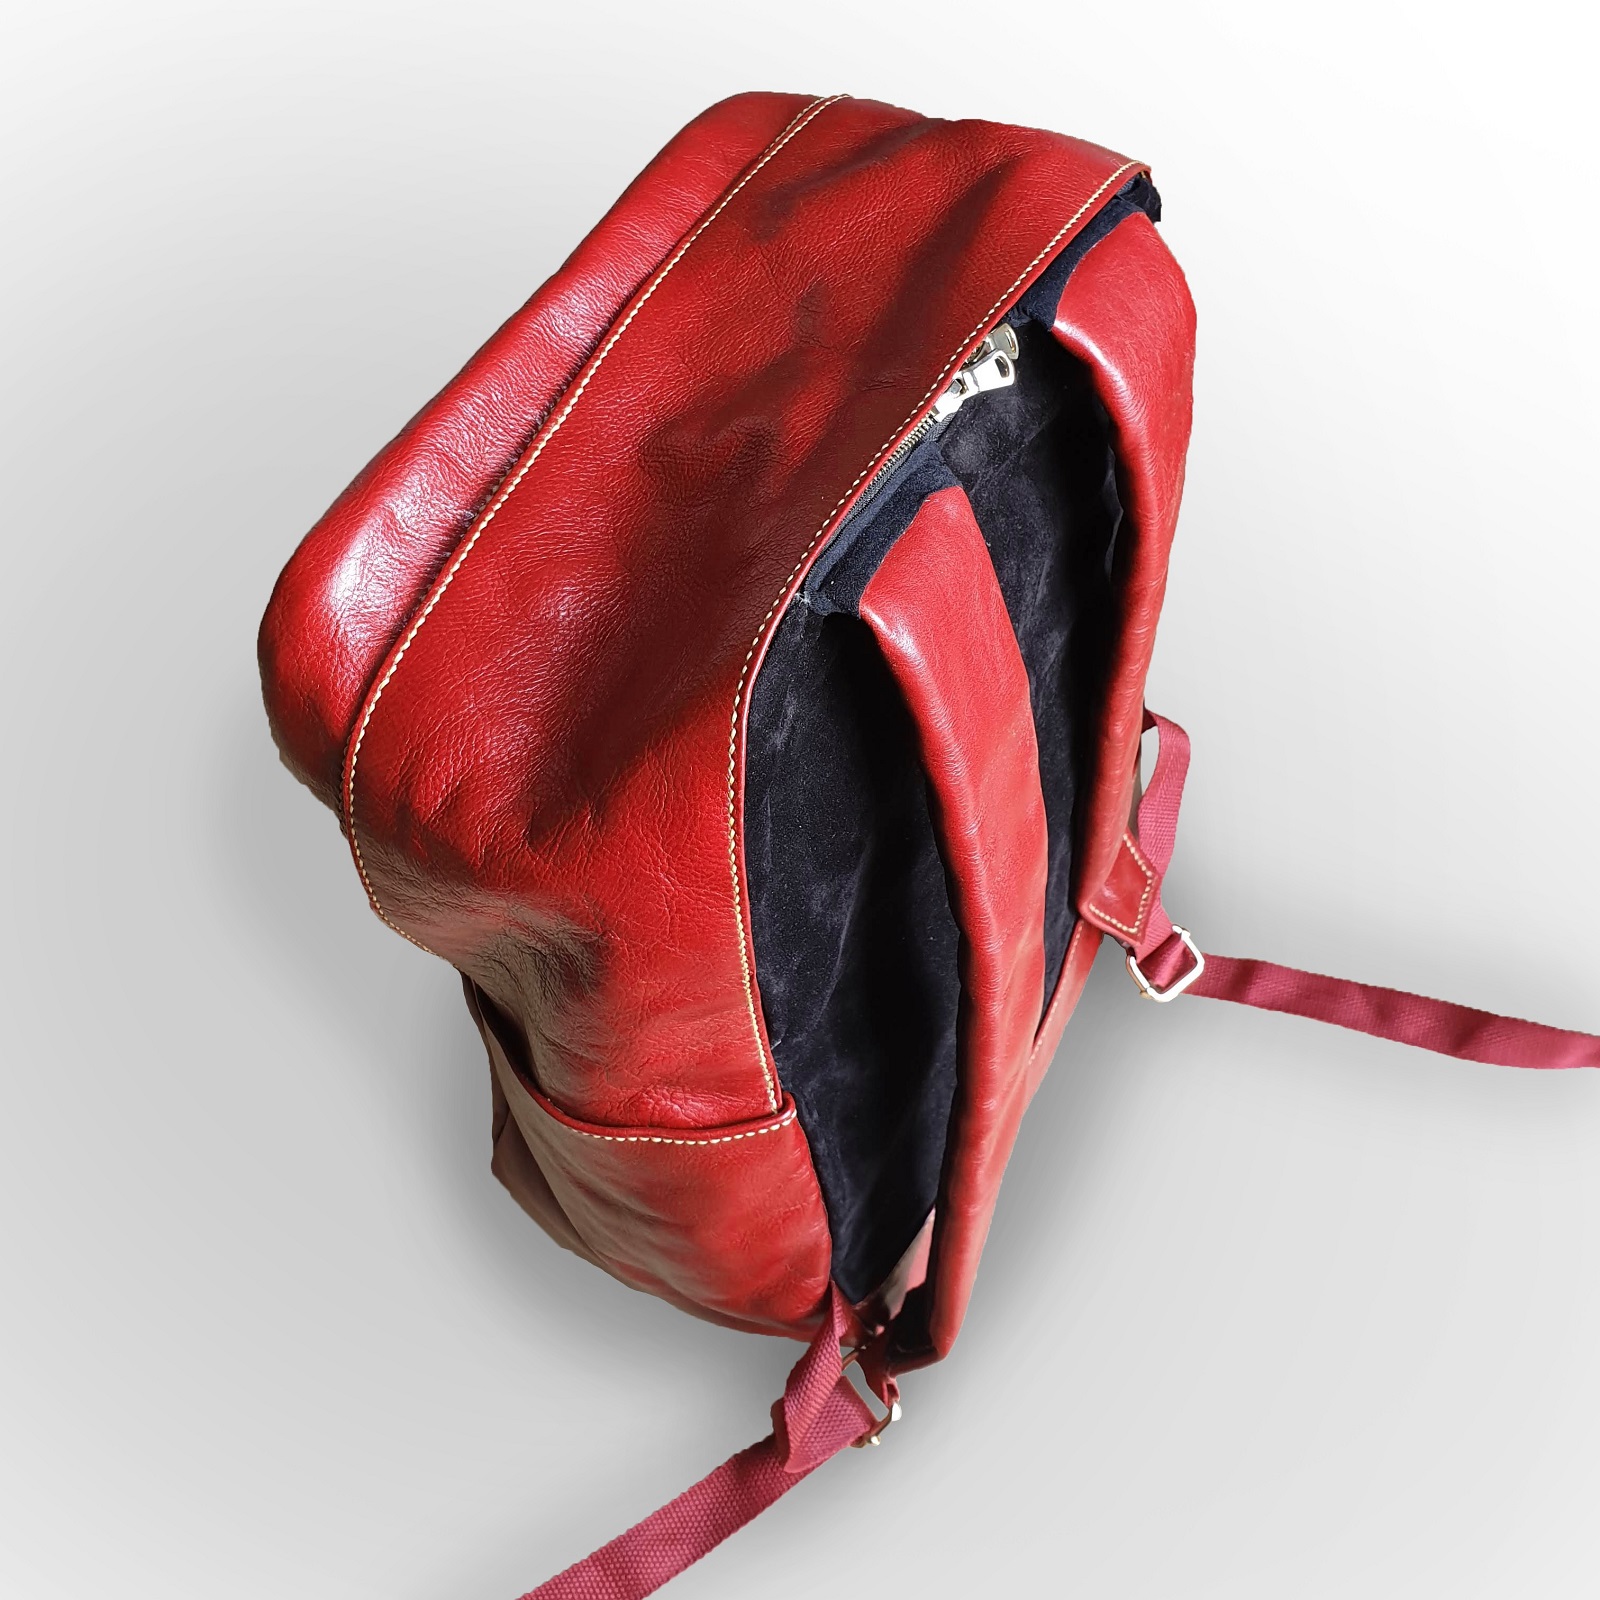
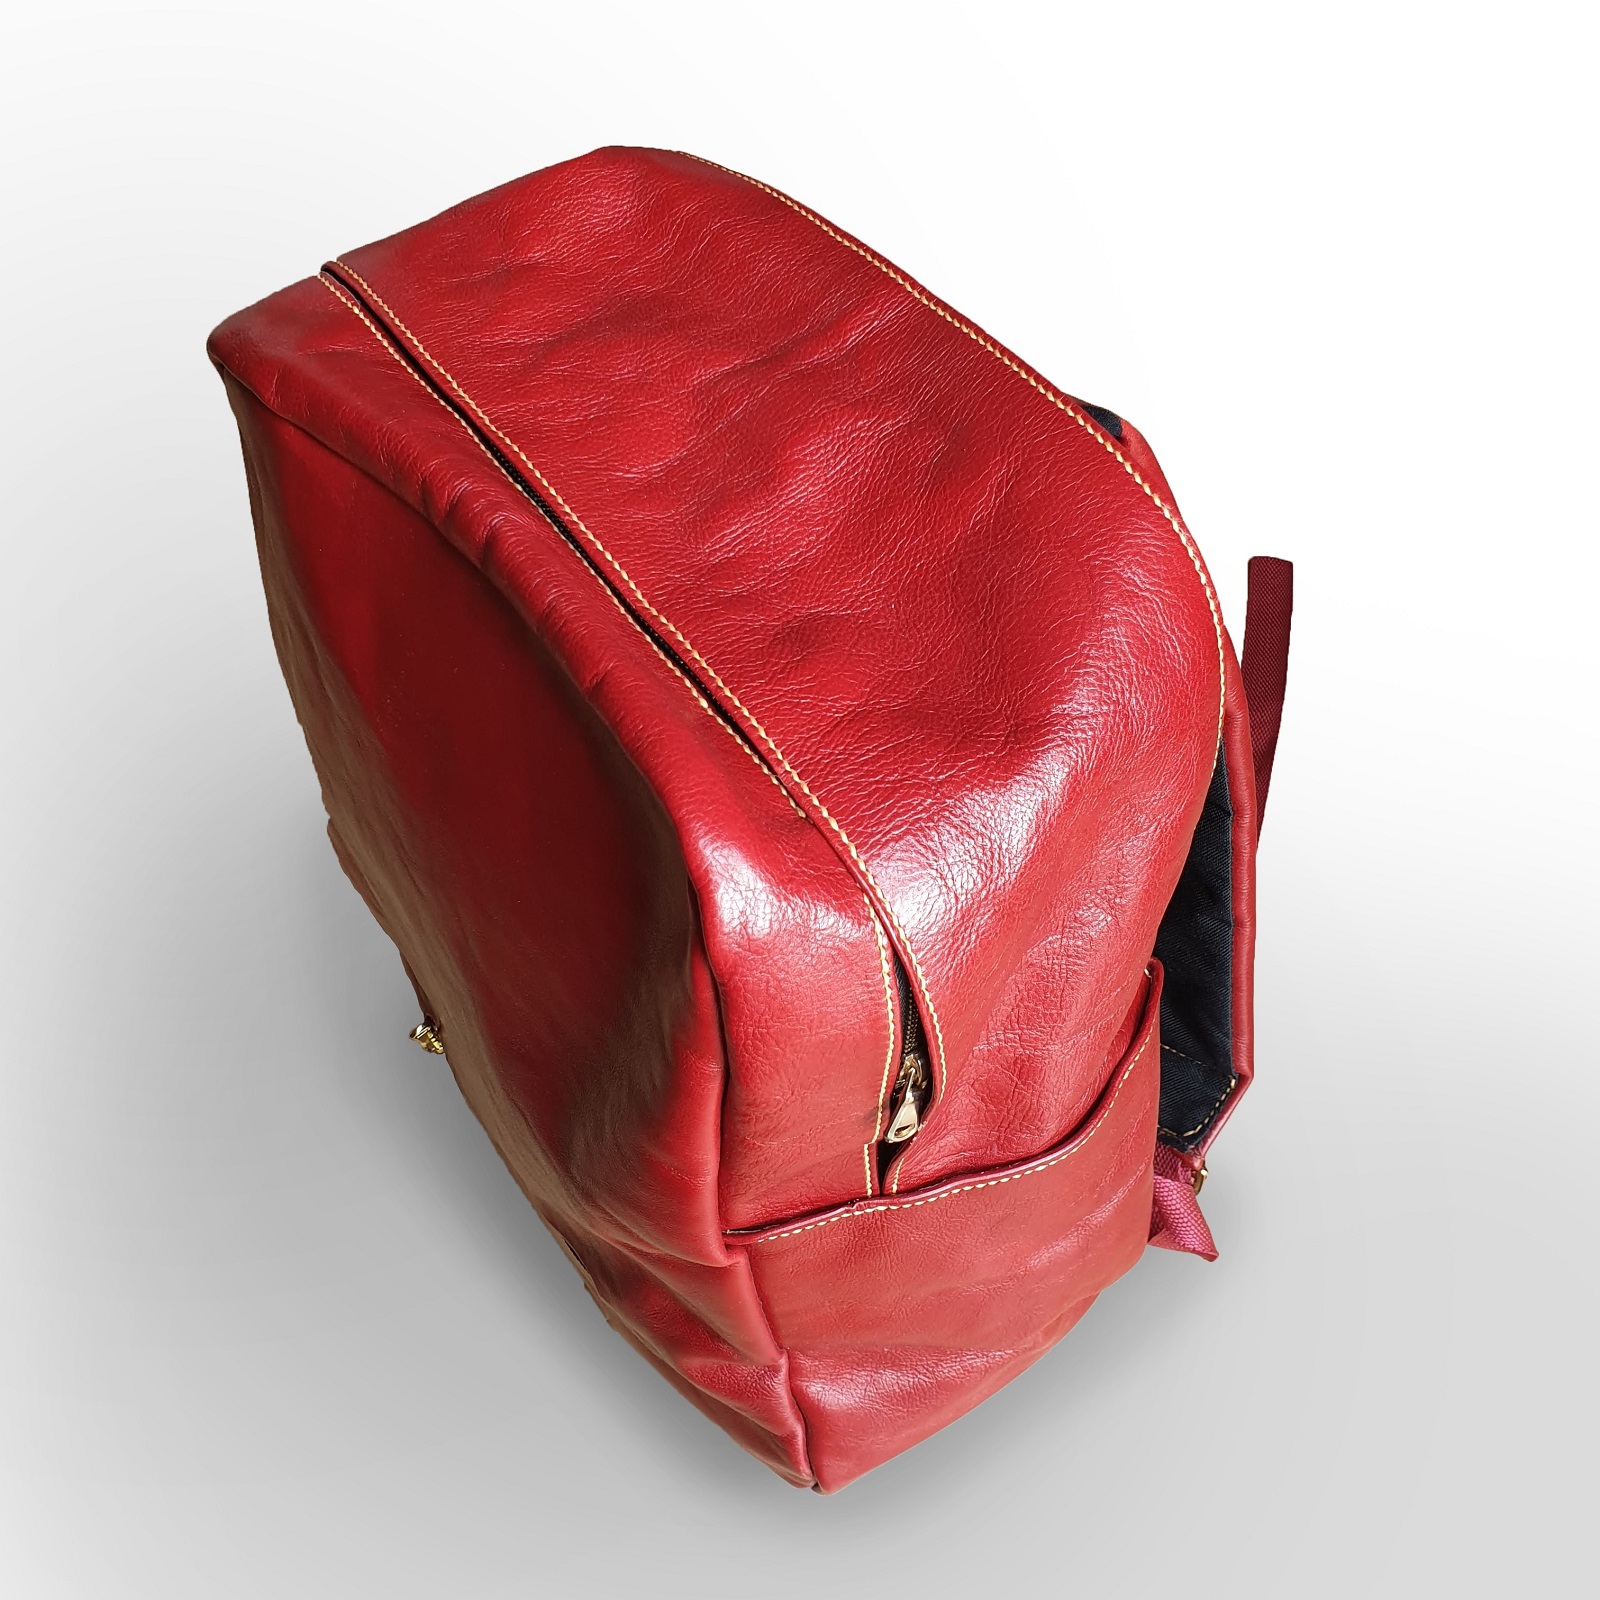
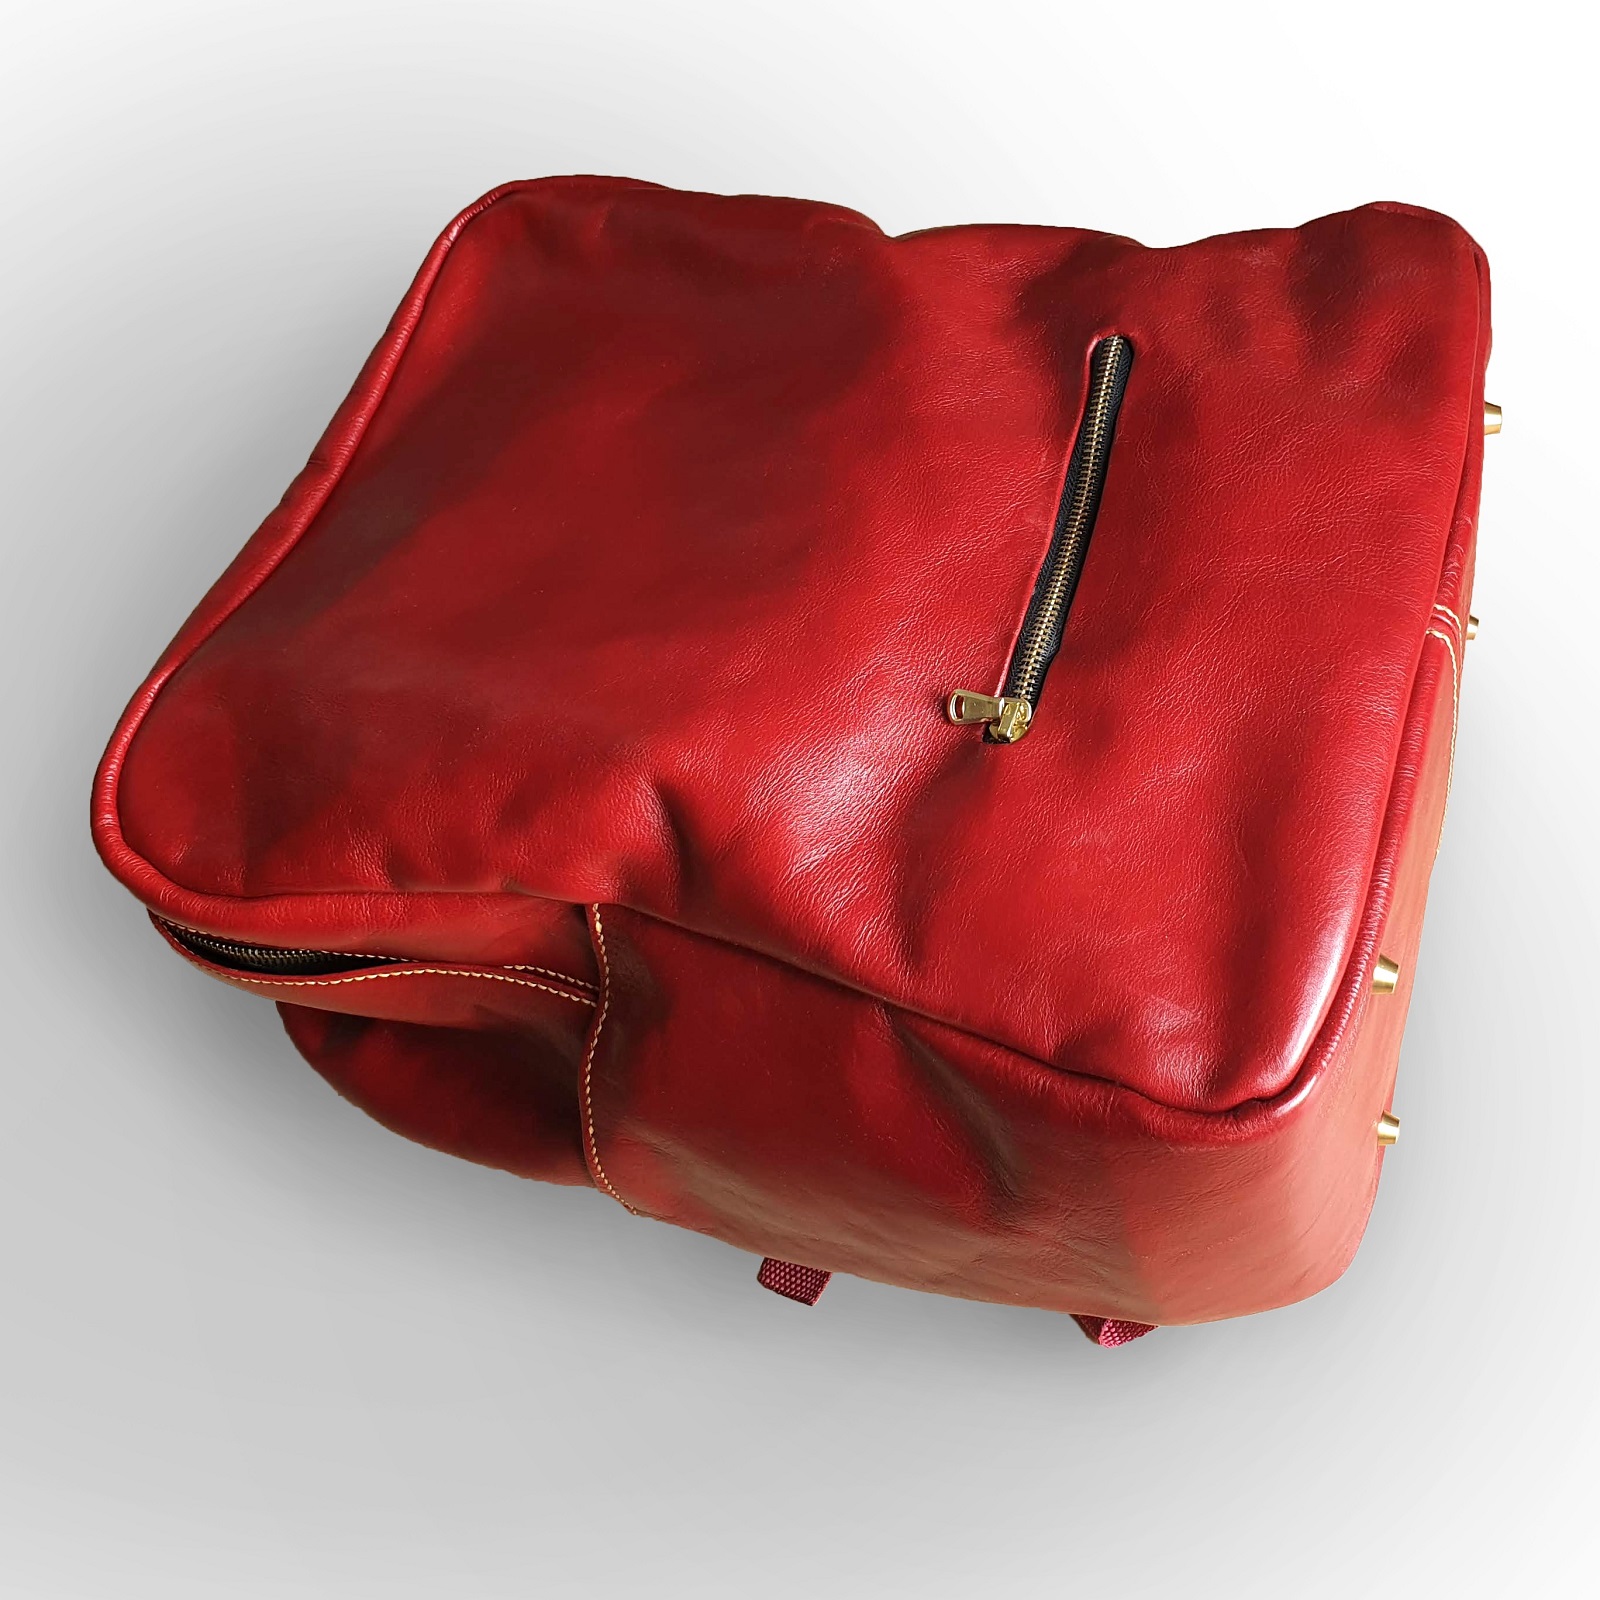
The finished bag !